
Using DSLRs, I oscillate pretty evenly between Auto Focus (AF) and Manual Focus (MF) lenses. And even with my three AF lenses, I use them MF a significant part of the time too.
Because many of my photographs are close up – and often at the closest focus of the lens – I often use a different technique to AF or MF.
Let’s call it Rocking Focus, or RF.
The concept is very simple.
I set the lens to its minimum focus manually. Then physically rock the camera in and out incrementally (using my whole upper body) to find optimum focus whilst looking through the viewfinder.
Then shoot.

This also avoids the need to recompose with AF lenses, as most of the time they’ll lock focus on what’s in the centre of the viewfinder/screen, or if you have multiple focus points on, they’ll lock on one of them you don’t want them to.
With RF, you compose exactly how you want, then gently rock in and out until the specific part of the image you want to be in focus, is in focus – whether it’s in the centre or not (with me it usually isn’t).
Of course sometimes what you want to focus on isn’t exactly the minimum focus distance of the lens away.
Say your lens focuses down to 0.45m, but the object you want to be in focus is around 0.52m away, once you’ve chosen and framed your composition.
In these cases, just use the focus ring to come out slightly until the right part of the image is approximately in focus.
Then, use the RF technique to fine tune the focus as needed.
AF is great for convenience and when you’re not close up where precise focus is more critical.
MF is more tactile and generally for me makes the photography experience more engaging.
But when you’re focusing close with MF, trying to hold the camera steady with one hand and turn the focus ring to and fro with the other, it’s not the most stable approach, especially if you’re at slower shutter speeds.
Hence, using RF, where the focus is already locked and you can use both hands fully to hold the camera as steady as possible, again for me has proved to be the most consistently effective technique.
I’ve also used a similar approach with digital compacts that only have AF.
Here I lock the (auto) focus approximately with the usual half press of the shutter button, use the RF rock to fine tune, then squeeze the shutter button all the way to shoot.
Rocking Focus is one of those “tricks” I’ve done for years so I don’t even think about it.
But then I wondered if there might be others who haven’t tried this and are struggling to nail focus, especially up close, and who might benefit from hearing what I do.
So here it is!
Do you use this Rocking Focus technique, or something similar? How do you ensure consistently accurate focus, especially up close?
Let us know in the comments below (and don’t forget to tick the “Notify me of new comments via email” box to follow the conversation).
Thanks for looking.
What Next?
Share this post with someone you think will enjoy it using the buttons below.
Read a random post from the archives.
See what I’m up to About Now.

Um, yeah. My problem is … I can’t stop rocking.
How do you mean Marc? You can’t settle on what you think is in focus?
I said in the post I usually kind of fix my hands and arms in a stable position then gently move my whole upper body in or out, but sometimes the motion comes from my legs, just shifting my weight slightly forward on one foot or back on the other. Just more stable and subtle I’ve found that moving my hands, which are more likely to be unstable.
I don’t have good enough control of my muscles to be steady. I either use camera support when motion is critical, or press the button and hope I catch the right moment.
I have used this technique recently with some close focusing zooms. I’m picking up the negatives today so I’ll see when I scan them if I used it to good effect.
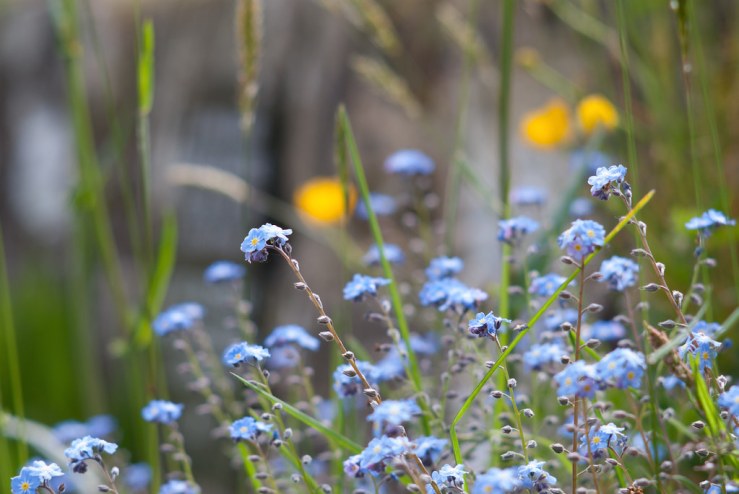
The only difficulty I had with with this technique was when photographing some flowers and a gentle breeze would break my composition momentarily.
Yes I’ve had the same issue with delicate flowers in the breeze. I just wait for it to drop plus try to raise the shutter speed if possible to increase the chance of any slight motion being frozen!
I shot this with the rocking method.
Pentax Super Program (Super A), Seikanon 28-70mm zoom, Expired Kodak Royal Gold 200. I wish I had used fresh film…
https://www.lomography.com/homes/therealmrblue/photos/23606087
Wow Rob, who came out on top there, the snake or the wasp (hornet?)??
This was on a walking trail in a state park so I think the snake was already dead (stepped on?) and the Hornet was an opportunistic scavenger.
Ah, an unfair fight then!
Do you still use expired film or avoid it now? (When I shot film, at least 75% was expired!)
Whilst I clearly need to spend some time with my camera’s manual, I just want to say that these are absolutely beautiful pictures. I shall get it out now and have a read. Thanks for the inspiration. Katie
Thanks Katie, and good to hear from you. What is it you need to brush up on with your camera? I don’t think “rocking focus” will be in the manual! : )
Ha! I need to get to grips with it all … there are so many wonderful things and people to see here and I’m really missing a trick by not taking my camera. Problem is that it’s bulky to carry around but that’s a 1st world problem I suspect!
That’s why so many people just use their phone these days… Do you have a DSLR? Maybe you need to go with a phone, or a compact camera.
Yes, my phone is an option although by the time I’ve found my glasses at the bottom of my bag just to turn the wretched thing on, the moment has often passed!
If I’m out with the intention of shooting photos, whatever camera it is, it’s in my hand switched on, with basecamp settings, and ready.
https://35hunter.blog/2019/06/06/how-base-camp-camera-settings-can-improve-and-simplify-your-photography/
With my phone I set it up so it goes straight to the camera app ready to shoot by a quick double press on the power button, so less than a second in practice. Many phones have a similar shortcut to activate the camera.
Oh! That’s super clever …. thank you.
As of late Dan, I’ve been using fresh film because I’ve been shooting some things where I want better technical quality, but I do shoot quite a bit of expired film. One of the happy side effects of collecting cameras from thrift stores is that I often get several rolls of film in the bags. I’ve got close to 40 rolls of expired film in my fridge right now.
I don’t shoot anything important on expired film simply because I’ve had some rolls come out with zero usable frames.
Unrelated – I took a bit of inspiration from you and recently took out my Panasonic TZ60 with it set to B&W mode. I’m very pleased with the film-like pictures I got.
Ah I expect it has a dynamic mono mode of some kind like my earlier Lumix cameras? Very impressed with the b/w output of my LX3 and GF1.
The setting is called “Dynamic Monochrome” under the creative control menu.
What really helps is the smaller sensor’s high ISO performance (or lack thereof) and the Vario-Elmar lens. I get a beautiful grain when I shoot in low light or heavy shade that really make the B&W shots look like film.
Ah yes that’s the same as on my Lumix cameras. Brilliant isn’t it! And yes I tend to bump the ISO to 400 or sometimes 800 to add a bit of further texture and “grain” too.