
My photography journey so far can be described in three stages –
1. Phone cameras taught me the basics of composition and helped me find my favourite subjects.
2. Film photography showed me the fundamental potential and relationship between ISO, aperture and shutter speed.
3. Digital compacts gives me the best balance of pleasure, simplicity, control and convenience.
Looking back, if I’d have tried to learn all I know now about photography in one go, it wouldn’t have worked. Just too many variables, too many unknowns.
But it’s helpful now to reflect and remember how much I have learned at various phases, and how I sometimes take for granted the approach I have now, and all that underpins it.
The abundant five year film phase of my photography was undoubtedly where I learned most.
Trying to cover everything I learned in one post seems impossible, so I’m chunking it down into parts.
First, here are the most important (almost) forgotten lessons I learned about aperture, that continue to serve me well with every picture I take today.
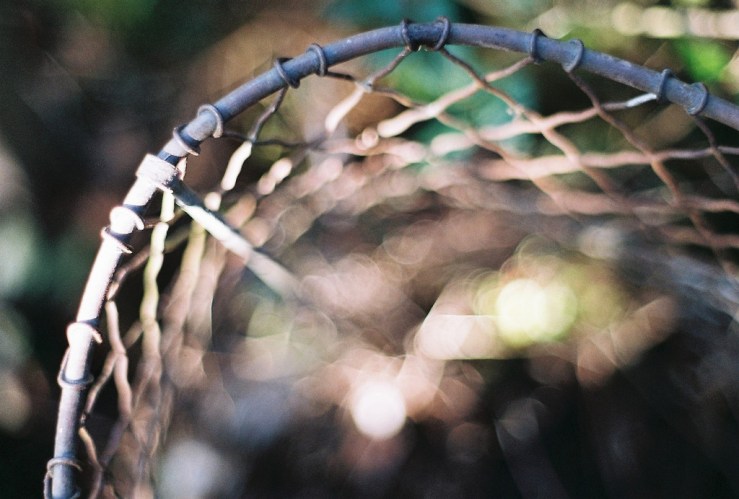
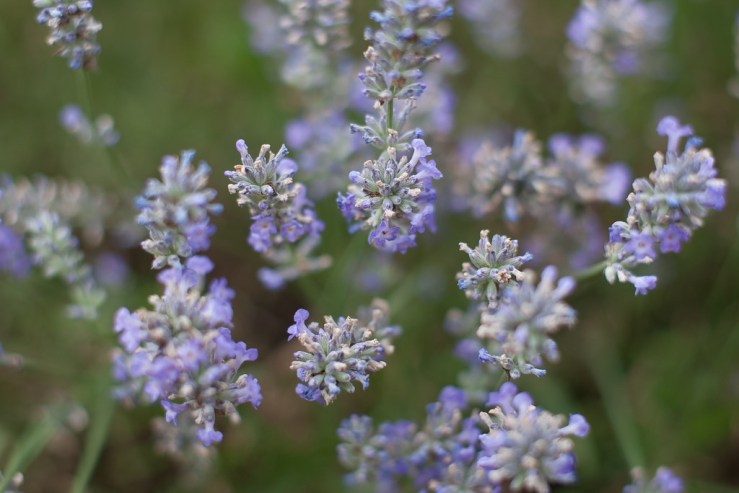
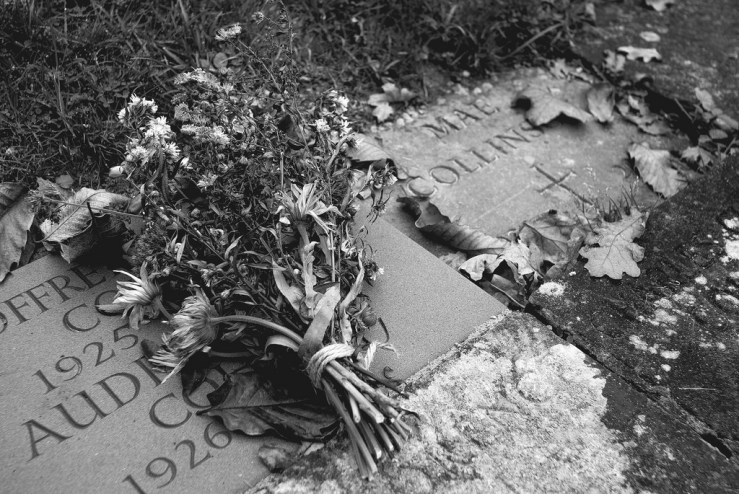
I knew before I started making my own photographs (and years before I first shot film) that I loved close up images where the subject was in sharp focus, and the background dissolved into a pleasing blur.
What I learned from experimenting with film cameras (and reading more than a few film camera manuals) was that the larger the aperture, the shallower the depth of field. In other words, the larger the aperture, the fewer parts of the overall composition were in focus, and the more was blurred.

It took me a while to absorb that a larger aperture actually meant a smaller f stop number on the lens, so f/1.7 for example is a larger aperture than f/8. Playing with film camera lenses helped – I could physically see the aperture blades close down and make a smaller aperture as I went up the scale through higher f numbers.
Eventually I understood and remembered that a smaller f stop number equals a larger aperture equals a shallower depth of field. Or looking the other way round, a larger f stop number equals a smaller aperture equals a deeper depth of field.
In time too I also started to remember the scale of whole stops – f/1.4, f/2, f/2.8, f/4, f/5.6, f/8, f/11, f/16 etc. And that going down a whole stop – ie going from f/2.8 to f/4 – meant half the amount of light was coming through the lens. Conversely, going up a stop, from f/5.6 to f/4 for example, meant twice the amount of light was allowed through.
The dormant maths geek in me was dancing for joy that day, I can tell you.
Further experimentation and maybe a hundred or two rolls of film later, I settled mostly around f/5.6 as my default starting aperture with a 50mm lens. Focusing up close this gave a decent degree of background blur but no so much that it was hard to focus precisely as the only plane in focus was wafer thin.
Plus at f/5.6, most 50mm lenses are performing near their peak, a comfortable few stops in from wide open where nearly all have issues that make them impractical to use in most situations.
This default starting point has evolved with different lenses. For example, a wider lens (say a 28mm) has a deeper depth of field at any given aperture than a 50mm lens.
Since I’ve been shooting almost exclusively with my Ricoh GRD III and Pentax Q in the last four months, my understanding has evolved again, learning that even with the aperture wide open, with a wider lens and a smaller sensor area compared with the size of a frame of 35mm film (“full frame”, ie 24x36mm), there’s a far deeper depth of field than with using a 35mm film camera.
So my aperture starting point is wide open at f/1.9 with both the Ricoh’s 28mm lens and the Q 01 Standard Prime’s 47mm, and I rarely need to move from these for my style of photography.
It helps that both the Ricoh and Pentax lens perform fantastically wide open, unlike most SLR lenses of equivalent focal lengths.
Where a close up of say a tree trunk 0.5m away at f/1.9 with a 50mm lens and 35mm film camera would have a very thin plane that was in focus, with the Ricoh or Pentax Q, there’s much more depth of field. Not so much that you don’t get any background blur, but it’s much less shallow than with the 35mm camera.

This also brings me to how aperture can impact the (in)accuracy if your focusing. Or rather show it up!
If it’s critical to have a certain part of an image in focus – for example a face turned partly towards you where you want the eye closest to you to be in focus – you can help yourself out a great deal with the aperture you choose.
Go wide open so the depth of field is at its shallowest, and if your focusing is even a fraction off, it will be very obvious in the final image. And focus of course is one of the irreversible aspects of photography – you can’t “fix” any focusing shortcomings in post processing.
But if you close down a couple of stops, you’ll gain a little extra depth either side of the plane of critical focus, which will then forgive any minor shortfall in the focusing.
Most of us I’m sure would rather have a final image where the depth of field is a little deeper so the part we wanted in focus is, and the casual viewer would see the focusing as “perfect”, than a picture where the missed focus stands out like a sore thumb.
Following this process to its extremes and the depth of field is so deep you don’t need to adjust focus at all.
For example shooting at f/2 and a focus distance of 3m with a 35mm lens in a 35mm film camera, according to the helpful DOFMaster site, everything between 2.62m and 3.51m will be in focus. The total depth of field (between these near and far points) is 0.89m. Everything in front of and behind that will be increasingly blurred.
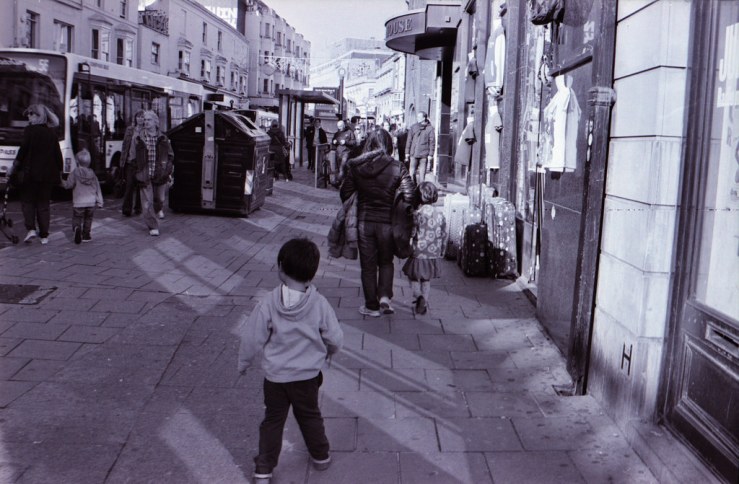
Stop down to f/11 though and leave the focus at 3m, and everything from 1.65 and 16.8m is in focus. Which means for some forms of photography, like shooting entire street scenes for example, you can set the focus and aperture settings once then forget about them, confident that virtually the whole image is in sharp enough focus.

To get the correct exposure at f/11 you have the shutter speed and ISO to play with. But that’s for another post!
These lessons about aperture have been absolutely invaluable to my photography, giving me the knowledge to make decisions with a camera that will give me the final image I’m looking for.
Whilst I used to sometimes get the shot and look I wanted some 12 years ago with phone cameras, it was luck not judgement (and sometimes a happy accident), and not something I could effectively replicate on demand.
It was only through shooting film cameras for a few years that I began to understand and enjoy applying what I learned about the effect of aperture on the end picture.
Maybe I could have learned the same purely with a DSLR, but I believe going back to basics with cameras like the Asahi Spotmatic and Minolta SR-1s was hugely educational, and not least of all because everything is mechanical and you can physically see and understand the impact of your adjustments.
I really can’t imagine being a complete novice, pressing a few buttons in blind hope on a DSLR, seeing a setting on screen change from f/4 to f/5.6 and having any clue why, what it meant, or how it would make the image any different.

Despite my almost entire withdrawal from using film these days, its legacy burns brightly on in the way I use my digitals.
Do you have any other tips about aperture and its impact on the final image? Is there something you learned in this post that you’ve found helpful?
Either way, please feel free to share with us in the comments below (and remember to tick the “Notify me of new comments via email” box to follow the conversation).
Thanks for reading. Please share this post with others you feel will enjoy it too.


Good stuff. I think the only thing you didn’t mention was the impact of distance on depth of field. The further away the point of focus, the deeper the depth of field at any given aperture.
Also something you mentioned but didn’t expand on was that while it’s true that for any given focal length, the angle of view decreases with sensor size of film format and vice versa, the depth of field remains the same. So while people may say that for example a 50mm lens on a micro 4/3 sensor is “equivalent” to a 100mm on a 35mm for full frame sensor, this is only true with respect to the angle of view (or magnification). The depth of field remains that of a 50mm lens whatever the sensor or film size. A 100mm lens on full frame would have a much shallower depth of field than a 50mm on a half sized sensor.
The lumix compact I have been using for snaps has a sensor which is about 1/6th the size of a 35mm frame and whilst it’s lens has an impressive “equivalent” range of something like 24mm to 400mm … the actual focal length is just over 4mm to just under 70mm. When set to the equivalent of 50mm, the actual focal length is more like 8mm … and it has the depth of field of an 8mm i.e. Very deep indeed. Out of focus backgrounds aren’t much on the agenda with that. Although it does seem to manage to get things out of focus when I don.t want them to be just the same 🙂
Having just returned to using an SLR, one thing I have rediscovered is the real value of a fast lens. If you get the focus pretty much right at f1.4 or f1.8 you ought to be fairly certain it will be fine at anything smaller.
Thanks Tony, I appreciate your in depth thoughts and reply.
Good point about the focus distance. Something I take for granted (hence the “lost lessons” in the title of this series of posts – I do things instinctively, forgetting that I had to learn them at some point) and with my digital compacts I pretty much us the focus distance more as a way of controlling the depth of field than the aperture. Even at the f/1.9 of the Ricoh’s 28mm lens or the Pentax Q 01 47mm lens, if I’m focused on something say five metres away, most stuff will be in reasonable focus. If I want shallow DOF I deliberately focus on something close so it throws the background into a blur.
Yes, that whole topic of crop factors and using adapted lenses I got a bit fed up with. Using my Sony NEX extensively for two or three years with vintage lenses and the NEX’s crop factor of 1.5x was fine if you forgot all about crop factors and focal lengths and just took pictures. But trying to always think “I have a 28mm lens, which gives an equivalent field of view of 42mm (28×1.5) but will still have the same distortion as on a 35mm camera” just gets tiresome. You have to get used to a set of lenses all over again compared with how they perform on a film body.
On the plus side, most vintage lenses are naturally optimised, because the APS-C sensor (in the NEX’s case) can only “see” the central portion of the lens. The far edges, where the lens’s performance is likely to be at its worst anyway, are cropped out.
On the down side, you never get a true focal length or field of view. The widest lens I have for my Pentax K10D DSLR is a 24mm K mount, but with the same 1.5x crop factor, the field of view is a not-very-wide-at-all 36mm. But with the distortion of the 24mm.
At the other end of things, it works much better, even with a 50mm lens I enjoy it, it’s like a mild tele lens.
I still struggle to translate the focal lengths a bit. My Pentax Q Prime 01 lens is 47mm equivalent field of view but actually only 8.5mm, giving a very deep depth of field, unless I force it really close.
I’ve actually found that these smaller lenses and smaller sensors are a lot more versatile than a DSLR. They just suit me better now and the simpler, more compact approach I’ve embraced.
If I want shallow DOF, I go wide open and force it close. If I want deep, I either focus further away, or just drop the aperture a little, to maybe f/2.8 or 3.5. With a 50mm say on a DSLR, to get a deep DOF, I have to drop down to f/8 or f/11, and then the resultant shutter speeds are often too slow, any bokeh gets too harsh and blocky (or hexagon-y or octagon-y, if they are words!) and I generally find it too much of a faff.
Yes one thing about focusing wide open with probably even a 35mm lens or longer on a film camera or DSLR is being able to focus very precisely, then stop the lens down to give you that extra margin of error.
I’m all about shallow DOF. But so are most of my customers. I even will sacrifice a car photo DOF to have the background blurred as much as possible. The car should be shot at F4.5 or above to get the entire length in focus. But I’ll shoot it at F0.95 when the photos are just for me. It is part of the challenge of photography for me. To get something in focus at very small DOFs. This is really useful when shooting full length portraits in very tight places. Making the background disappear in a field is easy, try doing that in a bathroom. This often reverses when shooting macro. That is when the tiny sensor cameras really help. (same for telephoto work.)
Thanks for your input Corvus. I confess too there are pictures I’ve made where the focus of the camera was set purely so the, er, “focus” of the picture was the background.
In that one room fifty photos experiment recently, to find more interesting (to me) photos I made use of manual focus on the Q quite frequently, to deliberately throw the subject out of focus and make it more abstract and blurred.
The distance you need to stand from your subject, and how that varies with lenses of different focal length, still fascinates me.
I remember using a kit zoom from a digital Pentax that started at 18mm on a film camera. I had to be virtually touching the subject to have them fill even a decent part of the frame, otherwise they looked miles away! Conversely, the longest lens I’ve had I believe is 300mm, which on an APS-C camera becomes a 450mm field of view. You have to stand what feels like half a mile away to make a head and shoulders portrait!
I know many people use K and other adapters on the Q to make it a super tele and photograph birds, the moon etc. Doesn’t appeal right now, but maybe in the future…
There is a sweet spot for portraits on the Q-7 where moderate “telephoto” of 25mm (apprx. 115mm angle of view equiv.) and a wide aperture (f1.0 to f1.4) where you get shallow (but not too shallow) depth-of-field that allows you to be reasonably close but not so far away as to lose a sense of being in the same space as your subject. C-mount lenses work best for this, lenses for FF don’t have the resolution.
An example: Omnicon (Cosmicar) CCTV lens, 25mm f1.4, 1/80 second @ISO 1600, going for a film grain look:
https://www.flickr.com/photos/156655689@N03/24124074367/in/dateposted-public/
It gets pretty hard to hand-hold anything longer than about 100mm on the Q7, and you are usually limited to F2.8 maximum aperture.
Thanks Stephen. Yes I have had half an eye on the Pentax 110 lenses – 18, 24 and 50mm. The 50 I think would be too long, but the other too on my original Q would be around 100 and 135mm equivalent field of view, both of which I’m well used to from having Takumars (105 and 135mm). Have you tried these? I understand they are fixed wide open as the aperture control was on the 110 camera, but apparently you can use simple washers as aperture shims between lens and adapter.
[…] my fondness even back then for shallow depth of field (and controlling the depth of field generally being my most desirable requirement), it was all […]