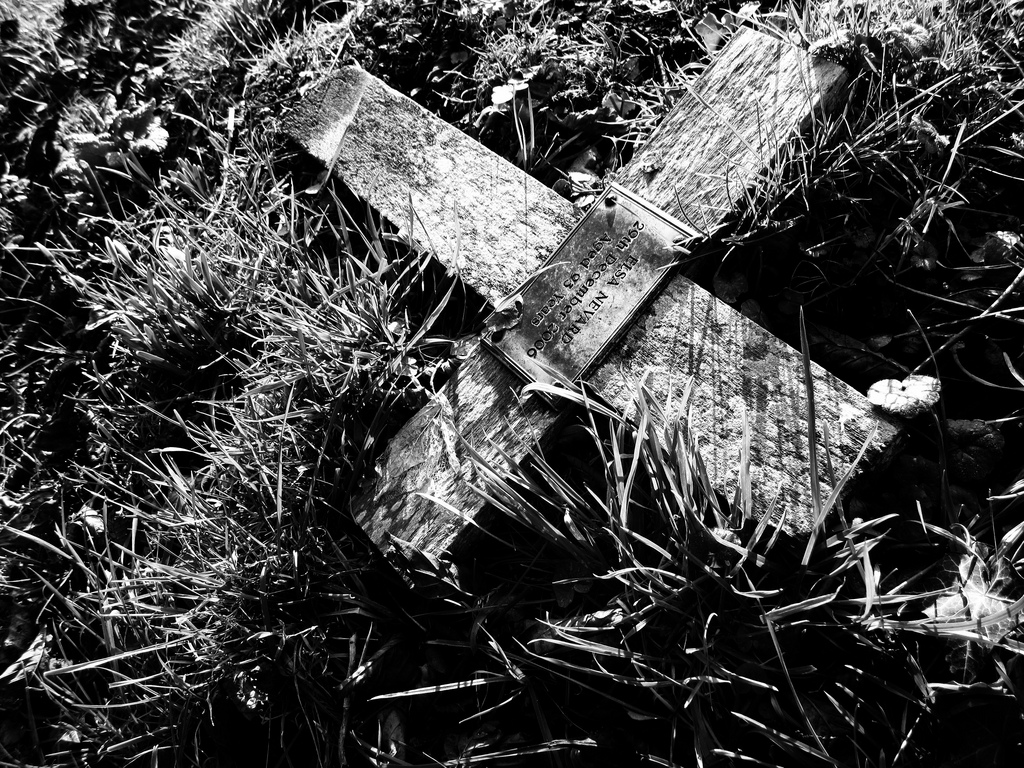
Out today with my Canon Digital IXUS 870 IS – which you may recall is the first digital compact classic I’ve chosen for my One Month, One Camera project – I discovered by accident a way to improve the pictures further.
After initial experiments with the IXUS, I had settled on two shooting modes, one for colour, one for black and white.
With the latter, I initially went with ISO400, then ISO800, to add a bit of extra digital noise/grain.
When shooting colour, I used Auto ISO, and found that the camera likes to use its native ISO80 whenever possible, as well as the maximum aperture of f/2.8, then adjust the shutter speed, even down to 1/8 or 1/4s.
This is very well suited to me, where shooting with a digital compact at maximum aperture gives you some satisfying shallow depth of field when you’re focused very close, and a greater depth of field than larger sensor cameras overall.
At similar close distances and large apertures with a film camera, the depth of field is usually far too shallow, so you need to stop down a few stops on the aperture. Then of course you need a slower shutter speed, increasing potential camera shake.
So with small sensor compacts, it’s a way of controlling depth of field with the focus distance, rather than the aperture, and I’m very comfortable with this approach.
I took a certain shot in colour, then felt it would look better b/w, so switched modes on the camera and took it again.
Reviewing the photographs later on my MacBook, I preferred the colour version as it had far more crispness and bite on the part in focus.
So I tried converting that to b/w using my usual Snapseed process.
The result I like significantly, even dramatically more than the photograph I made as b/w from the outset, even with the same Snapseed processing applied.
There are potentially two factors that are different.
First, the ISO. Looking at the EXIF, the original colour shot was ISO80, chosen by the camera. The b/w was at my chosen ISO800.
The other difference is that the colour mode I use on the Canon IXUS 870 is the Custom Colour one, where you can also change further settings between -2 and +2. Of these, I have the contrast at +2, and saturation +1, everything else zero.
So this may also have “enhanced”, in my eyes, the final image shot in colour, then converted to b/w.
Now, I was really happy with the ISO800 b/w images before. But seeing them directly compared to this ISO80 version, the difference is striking.
So much so, it leads to me to feel I could use the Canon as my one and only camera, if I had to, and I’d have no complaints in either use or the final image.
Which is exciting, not least of all because after spending hundreds on cameras over the last six years, this humble IXUS 870 gave me change from £20. Insane!
Wanting to explore this accidental discovery further, I took another image I’d shot in colour at (Auto) ISO80, and converted to b/w in Snapseed. Again, the results impressed me.

So the next time I go out with the IXUS to shoot b/w, I’m going to leave it on Auto ISO, and see how the results look.
If they don’t come out quite as well as the couple from today’s accidental experiment, I’ll try shooting in the custom colour mode with the contrast and saturation tweaks, and convert to b/w after, though this isn’t really something I want to do regularly as I like seeing in b/w via the camera’s screen as I’m shooting.
So what about the “Myth Busting” aspect of this post’s title?
Well, since shooting digital compacts for b/w photos, I thought I needed to use higher ISOs to get a more grainy and less perfect look.
Mostly though, this is for the background, out of focus areas. The parts in focus I quite like to be more crisp, and jump out a little more.
From this accidental experiment with the IXUS 870, even at its native ISO80, the background out of focus area was still imperfect enough for me to not want to rough it up in the dark alleyways of Snapseed.
And the parts in focus were pleasing sharp – much more than ISO800 version, but not overly “digital” looking, to my eyes.
The myth I believed was that anything shot lower than ISO400 on a digital compact would be too clean.
This is not the case, at least not with this IXUS and its 11 year old 10MP CCD sensor.
I also think this is further evidence of the benefits of shooting with just one camera for a sustained period.
You try your initial best guess of how you want it set up, see how that comes out.
Then review the images, and the experience, and make a small adjustment to one of the parameters and see if it makes you like the camera – and the images – more or less.
This mini experiment is repeated over and over, so your enjoyment of the camera, and the pictures it makes with you, incrementally improve towards the optimum state, where (wo)man and machine are one happy union.
I’m looking forward to the remaining days of January with the Canon Digital IXUS 870 IS, and by the end of it might want to keep it on for February’s chapter too!
Have you had any accidental experiments recently that have improved your enjoyment of your photography?
Please let us know in the comments below (and don’t forget to tick the “Notify me of new comments via email” box to follow the conversation).
Thanks for looking. Please share this post with others you feel will enjoy it too. If you’re interested, this is what I’m into right now.


Nope, unfortunately I haven’t had any accidental experiments recently that have improved my photography, but I have had one that made me want to throw my Yashica in the bin 😀 < gotta laugh or I'd cry. I guess that's the "beauty" of film photography, but I think I'm over it now…. I can never fault my Nikon FM though, its meter always saves me, so if I don't get a good image from it, at least I know it's totally my fault.
Oh! What happened with the Yashica?
well I was pushing FP4 3 stops and a lot of photos came out very underexposed. Not sure if it was my meter readings or the lab that messed it up! I might get a battery to power the meter but apparently they don’t last long and the voltage isn’t quite right so you have to adjust exposures by a stop anyway.
How did you meter for this roll of film? I’ve not done pushing or pulling, only deliberate over exposing, but don’t the lab have to process differently to account for the three stops you were over exposing? Maybe they just processed as if you’d exposed it normally?
I have started using Snapseed more and more as per your recommendation. It really does a great job. You are right, the difference in the first shoot is plain to see. I can’t say I have had an accident as such. I tend to be a straight shooter with film and digital. But with Snapseed I do experiment with the settings a lot. I think it encourages you to do so.
Oh that’s great news Peggy, glad you’re enjoying Snapseed. I really liked Hipstamatic before but it’s hard to learn anything with their set up of flash, film, lens. With Snapseed the variables are much more logical and you get to know what setting you need to adjust to get to look you want, rather than just playing around randomly in the hope you’ll land on something you like, as it felt with Hipstamatic.
I agree, too many settings to save. With Snapseed you can use your last edits too, which helps with a full film of edits.
Yes, I essentially have three “Styles” saved for b/w, which have different degrees of contrast and a slight reduction in brightness. I usually start with the darkest one then if it looks too much I try the other two. Very rare that I go back to scratch and start tweaking individual settings. Which means my processing takes about 13 seconds, as I wrote about some months back.