
Unless you develop and scan black and white film yourself, the costs can be high, and unfortunately put the format out of reach for many of us.
But what if there was a far more affordable way to make b/w photographs?
When I started film photography with a Holga 120N, everything was unknown, it was a wild new frontier.
Among the unknowns was a blissful ignorance the cost of film (mostly black and white), and film processing.
A few rolls in, I realised if I wanted to shoot more than a roll or two a month, I’d need to find some more affordable options.
So I modified the Holga to take 35mm film, and started to explore 35mm cameras, beginning with the Smena 8M.
But whilst shooting b/w 35mm film wasn’t as costly as 120 film with the Holga – and I could now get 36 exposures per roll instead of 12 – my monthly photography budget was still getting blown only a week or two in.
So I largely switched to shooting colour negative film, mostly AgfaPhoto Vista Plus 200 bought from Poundland for, yep, £1 a roll, or batches of cheap expired film.
But I missed black and white film, especially when I was going through phases of shooting in b/w almost exclusively with digital cameras and wasn’t seeing the world so much in colour.
In the end, I decided to try shooting colour negative film and having it processed as usual, then making a simple conversion to b/w afterwards with the scanned images.
Initially I did this just with Apple’s standard photo viewing app, Preview, then latterly used LightRoom.
This approach gave me a way of making b/w film photographs, but with far more affordable film and processing costs via a supermarket lab.
Some points to note –
– When I set out to shoot b/w, even if I was using a colour film which I was going to convert afterwards, I committed to a b/w outcome from the start.
This meant I ignored colour, and looked for the kind of compositions and scenes and light and textures that I thought would work better as b/w images.
What I didn’t do is shoot a roll of colour film, then for any of the shots that didn’t work out so good, try a b/w conversion to see if I could “salvage” them. It was b/w or bust from the outset.
– If you’re a regular reader you’ll know I’m not keen on post processing.
These days I use two or three presets in Snapseed for my digital photography – or just stick to cameras that give excellent b/w images straight out of camera, like my Lumix LX3 and Lumix GF1.
So when I was shooting colour film and converting to b/w, it was a very simple desaturation process. I wasn’t adding grain or contrast or changing anything else. My view with film is if you’re going to radically post process the images by digital means, you might as well shoot with a digital camera in the first place and save yourself some money.
My b/w film images then, retained the naturally inherent grain and look of film, but of course without the colour.
– I’m quite a purist in many aspects of life, and as mentioned above, didn’t like to mess much digitally with film photographs.
But I know some photographers would be aghast even at the thought of converting colour photographs like this as a means of creating a b/w image, and would insist you must always use “proper” b/w film and have it processed (or do it yourself) accordingly.
Each to their own.
I just found that this approach gave me the option to make b/w photos with the intrinsic charms of film (and film cameras), without breaking the bank.
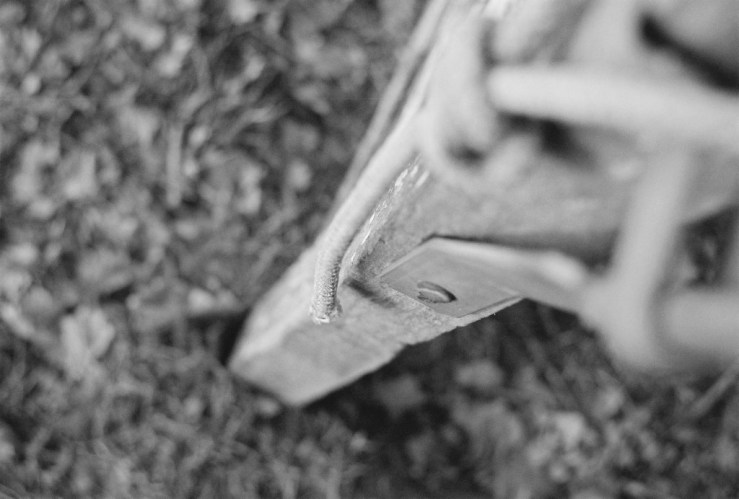
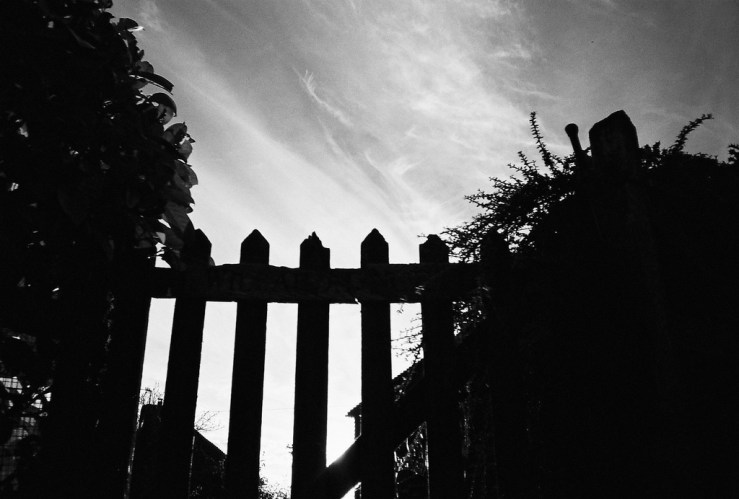
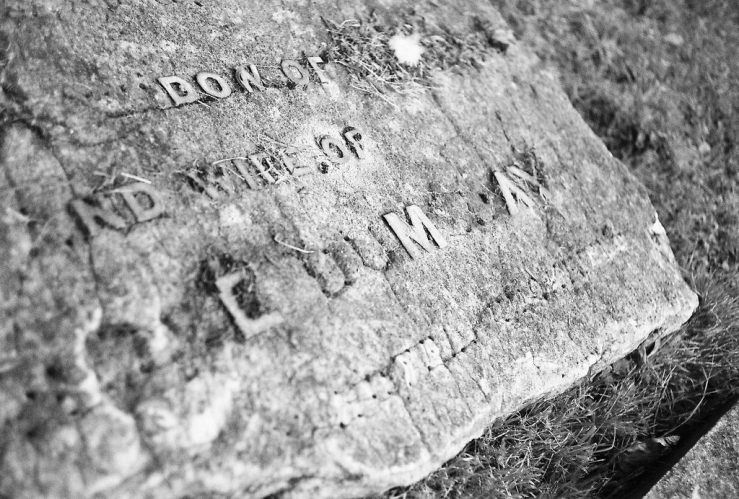
All the images in this post were shot with colour negative film and converted to b/w with Preview or LightRoom.
Hopefully this gives you some other options to think about if you still like to shoot film and make b/w photographs, but are finding it too expensive.
Thanks to Alan at Canny Cameras for prompting me to think about this approach again.
How about you, do you only shoot “pure” b/w film, or have you also experimented with converted colour images?
Please let us know below, we’d love to hear your experiences (and remember to tick “Notify me of new comments via email” box to follow the conversation).
Thanks for looking. Please share this post with others you feel will enjoy it too. If you’re interested, this is what my photography and cycling life looks like right now.

Nice post, Dan, and it reminded me of the once-widespread use of something called “viewing filters”.
These were heavily-colored glass filters through which one would look at a scene to see how the tones and values might appear when shot in black-and-white.
They were very popular with cinematographers, and I first encountered them when I found an old dark blue round one at a camera show and sale. It was mounted in a thick steel frame on a fine-scaled neck chain, and was used by holding it before the dominant eye like a monocle.
A quick search just now showed that they are still being made and marketed in a variety of colors and subtypes. That speaks to the enduring power and appeal of monochrome in photography, that such things would still be in demand in our present hyper-colorized world culture.
Cheers!
Thanks William.
Those sound like an optical precursor in many ways to the screens we now have on digital cameras, which give us a live preview of any filters etc we apply, including b/w modes.
I know that the seven or eight months I spend shooting my (then brand new) Nikon Coolpix in 2011-12 almost exclusively on a b/w mode was hugely educational in helping me see in b/w when I went on to use film cameras mid 2012 and beyond.
And now I’ve come full circle really, using digital compacts with b/w modes so I can see how a scene looks in b/w right there on the screen before I capture it, although it is much easier now to spot a possible scene with my naked eye first, thanks to the years of b/w screen training.
I bulk load 12-exposure cassettes of black & white film that I buy in 100 ft rolls. The price varies, but it is higher than the least expensive color negative film in my area. My real savings is in developing the film. It costs me roughly $0.60 for a roll of 35mm film regardless of the number of exposures. My incremental cost of scanning the film is zero because I already have the equipment. (The startup cost of a scanning setup is another story.)
Doug, thanks for your experiences. I guess if you know you’re going to be in it long term, then as you say the start up costs over time tend ever closer towards zero.
I know this works for many people, not just on the affordability front, but because they enjoy it too.
I’ve never had the time, money or inclination to develop and scan myself (well, I did scan for a while but disliked it greatly) so for me shooting colour film as b/w was the best solution and balance of time and money in the end.
I wonder if there was a way to join with other photographers nearby to jointly invest in developing and scanning facilities, rather than everyone going it alone. But I guess this is part of what photography clubs are for?
Dan, It’s all about finding the equipment, materials and process that work best for you. Your approach of shooting color film and converting the scans to B&W in post processing makes a lot of sense. One side benefit is that you can adjust the individual color channels to mimic the effect of using color filters when shooting B&W film.
Well I’ve never done that, but yes I’m sure that’s a valuable plus for some who want that bit more control for increasing the contrast of skies and so on. Thanks for all you’ve added to the conversation – my original post (as always really) is a starting point for others to add to with their experiences and insights.
Doug, thank you for this inspiration. The subject to hand is B&W production on a budget, and you have reminded me of the wonderful economies and rewards of home development when one wants to use a beloved film camera.
Long ago I had an Agfa Rodinax daylight processing tank. The low costs of processing small volumes of film (it may take me a few weeks to finish a single 36-exposure roll) without the space needs of a full-on darkroom layout, tanks, enlarger, etc. is a real joy. I have been following the development of the new “Lab Box” daylight tank, and see that they are now moving into full production, allowing ‘one-tank’ home processing of 35mm and 120 film in an inexpensive device smaller than a shoe box.
I have ‘digitized’ my own negatives with a light box and a macro lens – no scanner needed – and found that it produces acceptable image files ready for further software editing and enhancement of one’s choice when carefully done.
While I love the ability of B&W capture in digital cameras, I still have the treasured Nikons, Oly XA, and Zorki gear that are fun to shoot. The instant gratification and economies of small-scale home processing – no mail-order labs, true flexibility in developer choice and protocol, no space requirements – make this path an interesting alternative.
William, I’ve read about an increasing number of people using a digital camera for scanning negs, and if I was into film and wanted to scan I would explore this further. Or save up for a dedicated lab scanner that’s no longer required by a minilab.
Of course there are still a number of people who develop and print photographs, without any digital scanning at all, much like they might have done 25 or 50+ years ago.
William, The Rodinax and now the Lab Box have the advantage that they can be loaded in daylight. I use stainless tanks and reels. Stainless and plastic tanks need to be loaded in a changing bag, but they have the big advantage that they work with the Ilford washing method* that is very fast and very economical of water.
* After fixing, fill the tank with water and invert 5 times. Empty the tank, fill with water and invert 10 times. Empty the tank, fill with water and invert 20 times. Empty the tank and you’re done!
Yep, thanks, Doug – I still have my changing bag, and some tanks packed up someplace. My personal problem with this route was that my hands and arms would get really overheated and sweaty inside the bag. My original bakelite Rodinax was a godsend but self-destructed many years ago, so I was very happy to read about the release of the Lab Box. The 35mm and 120 modules and add-on thermometer sweeten the appeal for me.
[…] even if you predominantly shoot (and want to continue to shoot) black and white film photos (here’s a way to make it far affordable), then I would strongly encourage you to try carrying a digital camera with you too, set to a black […]